3D rendering is one of the tools architects generally use to present designs to their clients. Renderings are two-dimensional representations of a building, and it allows clients to see the structure before construction. The limitation of this method is that clients won't comprehend how space feels even with furniture installed because there is no continuity between the view in front and what's behind it.
Showing posts with label 3D Tips. Show all posts
Showing posts with label 3D Tips. Show all posts
Vray Tips: How to Improve Rendering in Vray Frame Buffer
Original Render Output
Proper scene exposure is a problem most beginners encounter in Vray. Back when I started learning Vray, my workflow was long and tedious. I did all my exposure corrections manually. If I have an underexposed image, I make changes to the physical camera parameters. I render the scene again and examine the output for proper exposure. It always took me several tries before I get the appropriate exposure.
I've always relied on post-processing to improve the dynamic range of my rendering. Wide dynamic range scenes happen when there is a wide gap between the dark and light areas of a scene, usually in interior scenes, when the outside is visible from the inside. Interior scenes facing windows or sliding doors exposed to sunlight are the typical wide dynamic range scenes.
3D Tips: Vray Ambient Occlusion
A simple tip that can improve your renderings is to take advantage of Vray's ambient occlusion. Ambient occlusion wasn't available back when I started using Vray. Ambient occlusion is a simplified way of using Vray dirt in the scene.
The first scene did not use ambient occlusion. The walls are too bright, while the joints and the ceiling's corners aren't that well defined. There are also a lot of overblown highlights in the scene.
Grass Tutorial Using Vray Fur for 3Dmax
You should have VRay plug-in installed to use this tutorial.
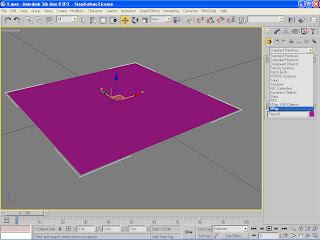
1. First thing you should do is make a plane about 4m x 4m for your vray fur
2. You then go to create menu>geometry>vray

3. the vray submenu will then appear.
4. click VRayFur and you should see something like this
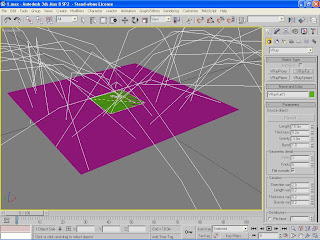
5. adjust the values of the highlighted portions accordingly
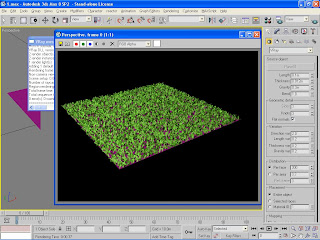
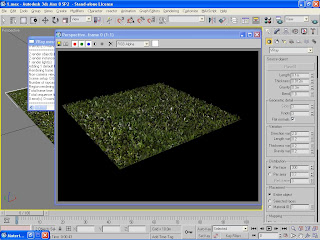
6. Hit render. You should see a result like this.
7. Apply some grass materials to the VRay Fur and plane
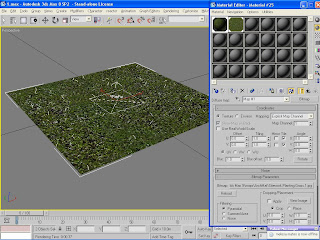
8. Hit render. There you have it a grass using VRay Fur.
Just some minor notes:
1. If ever you're using a larger plane for your grass add a 1-meter subdivision to your plane.
2. You cant use uvw maps on Vray fur.

1. First thing you should do is make a plane about 4m x 4m for your vray fur
2. You then go to create menu>geometry>vray

3. the vray submenu will then appear.
4. click VRayFur and you should see something like this

5. adjust the values of the highlighted portions accordingly

6. Hit render. You should see a result like this.

7. Apply some grass materials to the VRay Fur and plane

8. Hit render. There you have it a grass using VRay Fur.

Just some minor notes:
1. If ever you're using a larger plane for your grass add a 1-meter subdivision to your plane.
2. You cant use uvw maps on Vray fur.
Subscribe to:
Posts (Atom)
-
Tiny living spaces have always been of interest to me. It always astounds me how a well-designed small space can still offer comfort to the ...
-
Are you searching for an efficient and elegant design for a tiny house on 60 square meters of land? Our most recent design for a tiny ho...
-
Location: Banilad, Mandaue City, Cebu Year: 2011 Floor Area: 540 sqm. Lot Area: 585 sqm. House MKA11 is a renovation for a two-storey re...


